Whether you already manage a vacation rental business or are considering leasing your second home, it’s highly likely you’re considering listing on Airbnb. As of 2024, there are 4 million Airbnb hosts worldwide, with 14,000 new hosts joining every month. It’s quite literally the place to be.
In November, Airbnb announced its Winter Update, which included the release of a redesigned rating page and a new set of tools for hosts to manage their listing and showcase the details guests care about most. Joining Airbnb has never been easier! This simple yet comprehensive guide gives you step-by-step instructions on how to turn your house into an Airbnb — and succeed!
Step one: Do your research
Like any successful entrepreneur, it’s essential to understand what you’re getting into. Putting your house on Airbnb is the easy part, but earning a sustainable income depends on various other factors. Let’s take a look at the most important ones!

Legalities
In many areas, hosts will need to meet specific criteria to operate a legal Airbnb rental. You may be required to register your property or obtain a license from your regional government. Get in touch with your local city hall to see how feasible it is and what you need to do to proceed.
In addition, you may have to collect taxes from guests, in which case, they should be aware of the exact amount prior to booking. In specific jurisdictions, Airbnb will calculate and collect occupancy taxes on the host’s behalf. However, if your area is excluded from this feature, you will be required to collect them manually.
Homeowners in the U.S. are obliged to pay property tax, which varies from state to state. Your property tax rate may also fluctuate depending on your average rental term, your proximity to public services, and the potential for development on your land. This will be calculated by a tax assessor who is likely a local government official.
Moreover, you could be legally obliged to pay taxes on any earnings from your short-term rental business. Make sure you know all of your required taxes in advance of listing your property as this will help you budget and avoid any fines.
Bonus tip: Wondering how to make your home an Airbnb in California, Florida, or Texas? Check out our in-depth guides about the laws and regulations of those U.S. states (and their main counties and cities!).
Location
Ideally, your property is based in a popular location with an array of attractions or natural wonders like national parks or beaches. Most of your marketing will take care of itself in this case. Try including the name of a top attraction in your listing title and add the distances to each one in the text. This will help potential guests find your accommodation more easily when doing Google and Airbnb searches.

If your property is in a lesser-known part of the world, you should be prepared to invest more in your accommodation to ensure guests want to stay because of what you offer, as opposed to the location. Consider upgrading your vacation rental’s home entertainment system or investing in popular amenities like a ping pong table, hot tub, or basketball hoop.
To give yourself a leg up over other hosts in your area, why not offer a transfer service to your guests free of charge or at a reduced rate? Offering to take them to airports, train stations, and recommended attractions may be the difference between booking with you and choosing a closer accommodation.
Competitors
One of the best ways to get a good head start is to check out what your would-be competitors are doing. Search for rentals in your area on Airbnb, sort by rating, and find a property that is considered similar to yours. Take note of everything they do well and try to copy or improve those aspects when adapting them to your rental.
You can also see how much they charge for their nightly rates, extras, cleaning fees, and damage deposits. This will give you a better idea when setting up your rates.
Bonus tip: Read the guest reviews and see what they pick out as the main highlights of the rental. If something frequently pops up, then add that to your inventory.
Target customers
Once you’ve identified why guests would want to book your vacation rental, you should adapt your marketing strategy and your home to meet their needs. For example, are you more likely to attract active younger guests who want to hike, older guests on business, or families visiting the local amusement park?
If you’re beside popular ski resorts, your target customers are probably young professionals and groups. Mention how close the slopes are and consider furnishing your vacation rental to include a mud room, where guests can take off their outdoor clothing and clean their pets.
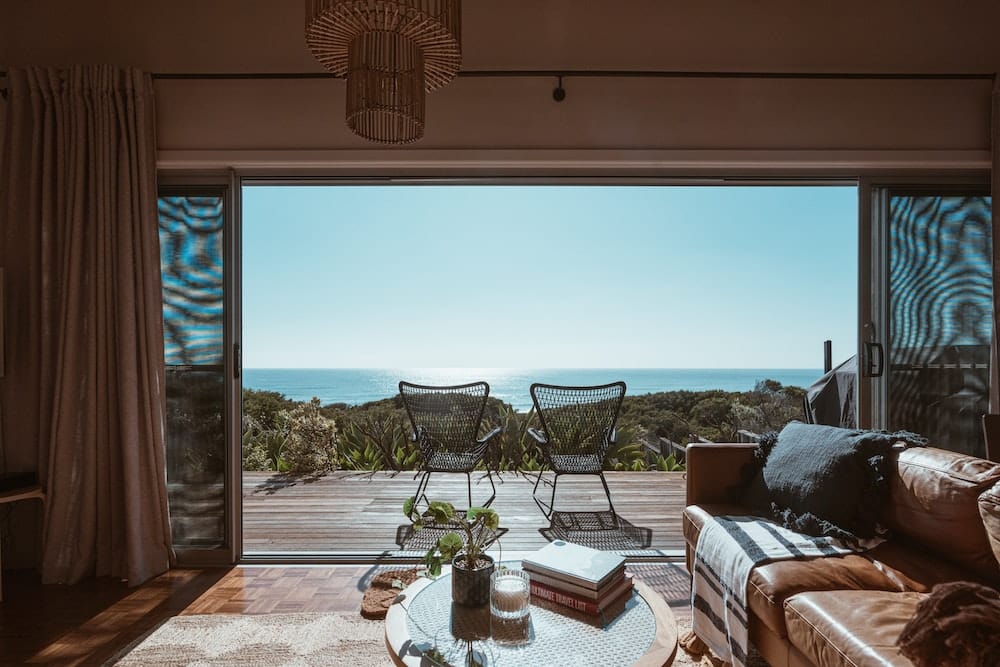
If you’ve invested in a beach property, you’ll want to figure out the age of the average beachgoer and identify their desired amenities. Providing an outdoor shower, beach toys, and towels will make your guests feel that your property has been designed especially for them.

Bonus tip: Find out what’s on in your area throughout the year and create an events calendar with all the key dates and details. This will help you to understand the booking trends and demographics of your area.
Step two: Create your Airbnb account
Your home is now ready to welcome guests, and it’s time to get your property online!
Airbnb Set Up
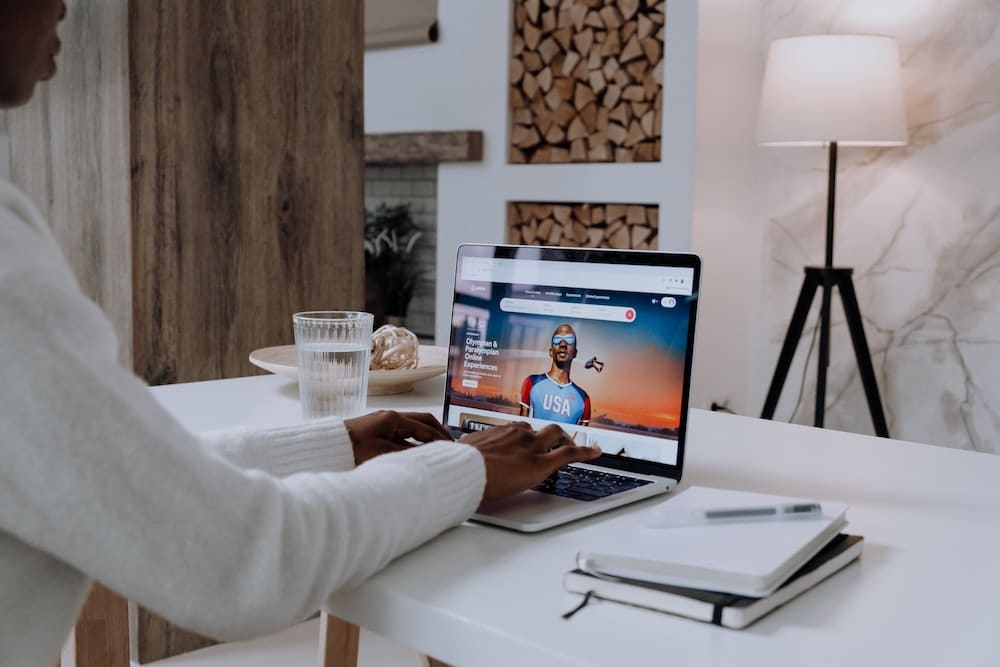
Firstly, head to airbnb.com and click on the “Airbnb your home” button in the top right of the home page. You’ll see a quick snapshot of your potential earnings as a host in your area. If you like what you see, click “Airbnb Set Up” and follow the instructions.
If you have any doubts, you can choose to match with a Superhost who can guide you through the initial process and answer any questions. They can personalize your onboarding experience by suggesting ideas, offering advice, and even giving tips for your listing.
Write your listing
This is one of the most important parts of the setup, as it will be how you sell your vacation rental to potential customers. Remember, these are guests looking for a different experience than just a hotel getaway. They want to know why it’s unique, its story, and what the hosts are like.
To save time, you can use Lodgify’s Airbnb Description Generator, which creates personalized titles and descriptions for your Airbnb listings in just a few clicks.
To boost your listing further, you can use SEO keywords in the text, helping your vacation rental appear higher in the Airbnb search results.
Add quality photos
Many potential customers will check out your listing’s photos before reading the text, so they must be high quality. You might consider hiring a photographer; however, it’s likely this won’t come cheap. Alternatively, you can check out our tips on how to take professional photos of your vacation rental.

Bonus tip: Learn the art of vacation rental photography in more detail with this free course through the Lodgify Academy. Enroll today and drastically improve your property’s photos!
Input your rates
You’ve done your market research, and now it’s time to apply your rates. The next step is to go to your listings page on Airbnb, click on “Pricing and availability,” and go to “Pricing.” You’ll then click “Nightly price” and “edit” to input your rates.
Remember to customize your pricing for specific dates like Thanksgiving and New Year. Think about how to boost off-season bookings for your vacation rental and implement cheaper rates, special discounts, or lower your minimum night stay.
To make this process easier, you can always rely on dynamic pricing tools, such as PriceLabs or Beyond, to optimize your rates to help you maximize your profits. Using algorithms based on industry data such as seasonality, local demand, and day of the week, your prices are flexible and automatically updated when necessary.
Once completed, press “Save,” and you’re good to go!
Calendar
Are there specific dates you don’t want guests to book? Perhaps you plan on staying there yourself over the holidays and need to block those dates? No problem. Go to the “Calendar” section, select a listing, and select the desired dates. Under “Availability,” you can select “Available” or “Blocked” before clicking “Save.”
Step three: Use a channel manager
As a new host, you’ll probably want to list your property on several OTAs, not just Airbnb, to reach as many potential customers as possible. It’s highly recommended you use an Airbnb channel manager. A channel manager allows you to effectively manage your bookings and other information, such as pricing, customer data, calendars etc., across multiple platforms.
This automation means you avoid double bookings because it ensures all your listings are connected, and all your calendars are synced up. Lodgify’s all-in-one Airbnb management software software is notoriously simple and great value for money — especially compared to alternative solutions. Also, hosts can access valuable resources, including free courses with Lodgify Academy, a Knowledge Base, and vacation rental guides.
Sounds good? Try Lodgify’s 7-day free trial to see for yourself!
Step four: Implement a memorable check-in experience
You’re finally ready to welcome your first guests, and you want to make an excellent first impression. Make sure check-in is as stress-free and flawless as possible for you and them. You can do this with good communication straight from the start. Give them a quick message to say thank you for booking and offer to provide them with directions to your property.

You can invest in a digital keyless entry or a portable key lock box for a smooth and secure contactless check-in. Lodgify’s integration partner Jervis Systems is an access management platform that enables you to remotely manage and automate rental property access from your cell phone.
As arrival day approaches, you can contact your guests again with instructions for entry and emergency contact details. It’s also a good idea to reassure them that you are around in case they need anything, but without making them feel like you’re supervising them.
Top tip: Consider leaving a handwritten note and a small welcome gift, such as a bottle of wine or a cheese board. This will immediately impress your guests and make them feel valued.
Step five: Future-proof your rental with reviews
Reviews are proven to be the third most decisive factor when guests decide on booking a vacation rental. An enjoyable check-in experience is important, but so is a thoughtful check-out. Follow up with your guests on departure day, thanking them again for their stay and encouraging them to leave a review. Recent studies show that only 22% of guests write reviews without being asked.
Having great reviews on your listing will ensure guests continue booking your property in the future, sustaining your vacation rental business. For more guest experience tips to increase five-star reviews, check out this free webinar with Matt Landau, founder of VRMB, and Christophe Salmon, co-founder of Revyoos.
Ready to turn your property into an Airbnb?
Although running a vacation rental can be demanding, it’s a very rewarding experience when done right. In 2023, the average annual host earnings on Airbnb was $44,235 in the United States alone. So, now that you know how to turn a property into an Airbnb, it’s time to put what you’ve learned into action.
Guests want everything to be well communicated, they want to feel assured in their choice, and, above all, they want to feel welcome. Let your personality shine through, and always keep one eye on the future, whether it’s further investment opportunities, market trends, or simply striving for continuous improvement.
Final bonus tip: Success doesn’t just depend on how nice your vacation rental is but also on how well it is managed. Try Lodgify with a 7-day free trial and see how we can save you time and effort, so you can focus on your guests.


