
In today’s digital landscape, the power of an impactful online presence cannot be underestimated. For property managers, a well-crafted website serves as a virtual gateway that not only showcases your unique accommodations but also facilitates direct bookings.
According to our Summer Industry Report, 38% of all bookings for 2023 in the United States were made directly, meaning there is an enormous opportunity for property managers to increase their revenue by investing in a direct booking website and avoiding third-party fees and commissions. Creating a website like Airbnb using WordPress can be a powerful tool to achieve this goal.
By following this step-by-step guide, we’ll walk you through the process of setting up your direct booking website on WordPress, which will enable you to design an engaging and user-friendly platform for potential guests. We’ll also discuss how combining the capabilities of Lodgify and WordPress can make the booking process for your customers even easier.
Let’s get started!
Step 1: Choose a domain name and hosting provider
So, you’ve drawn up your vacation rental business plan, identified the unique selling points of your property rentals, and created a branding strategy that resonates with your ideal guests. Now it’s finally time to get your ideas onto a live, functioning website.
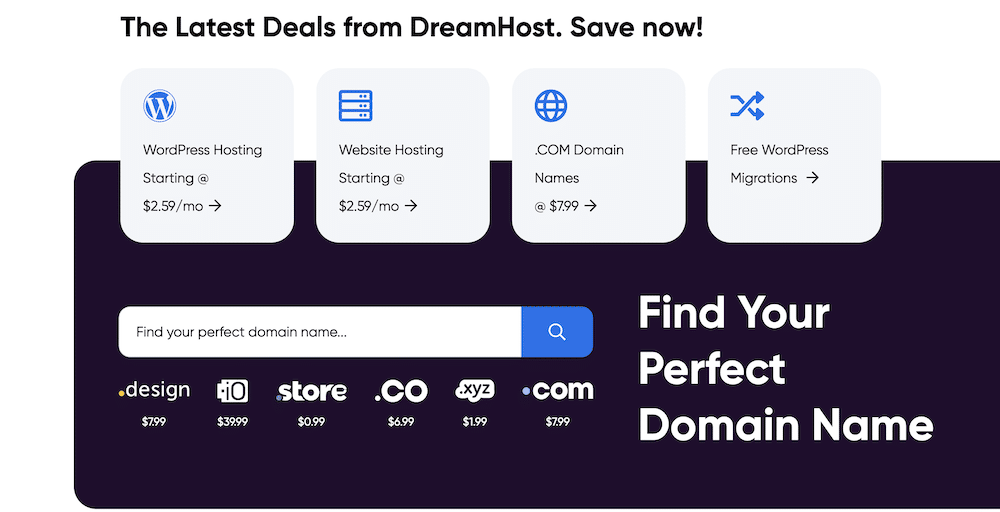
Firstly, you’ll want to select a catchy and relevant domain name for your website and register it with a reliable domain registrar. These usually cost around $15 per year on average; however, with the purchase of any WordPress annual plan, you may register a new domain for free for one year.
Once you have your domain, you’ll need a reliable WordPress hosting provider that can handle the traffic and resources your platform might require. For example, it will store all the data from your pages, text, and images, and anything else you implement on your website.
Some of the most popular options include Bluehost, Dream Host, GoDaddy, RentalHive, and Hostinger, and these also cost around $15 a year.
Step 2: Install WordPress and essential plugins
The next step is to install and set up WordPress on your hosting account. You can also do this manually without a hosting provider; however, this is often a complicated and time-consuming process. We recommend permitting your hosting service to do this for you.
Once installed, you’ll be able to access your WordPress dashboard and install a variety of ‘plugins.’ A WordPress plugin refers to a software component that seamlessly integrates with your WordPress website. These plugins have the ability to introduce features or enhance the existing ones on your site.
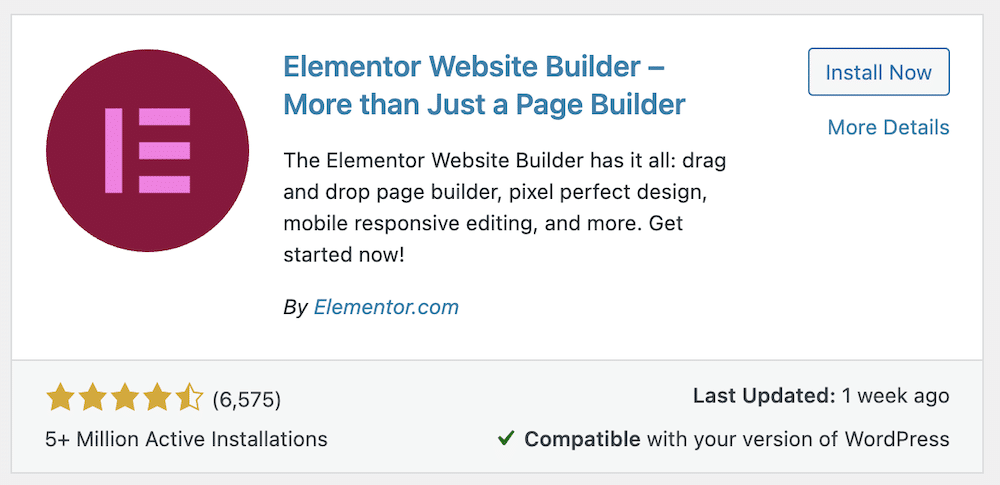
We recommend installing and activating Yoast SEO to help you optimize your website for search engines and to preview your website before going live. In addition, plugins such as Elementor and Divi are visual page builders, which simplify the website-building process using simple drag-and-drop features.
Furthermore, Imagify is an image optimization plugin that helps you reduce the size of your images without sacrificing image quality. Imagify can also convert your image files to WebP format, which will further reduce the size of your website, improving loading speed.
Step 3: Select a WordPress theme
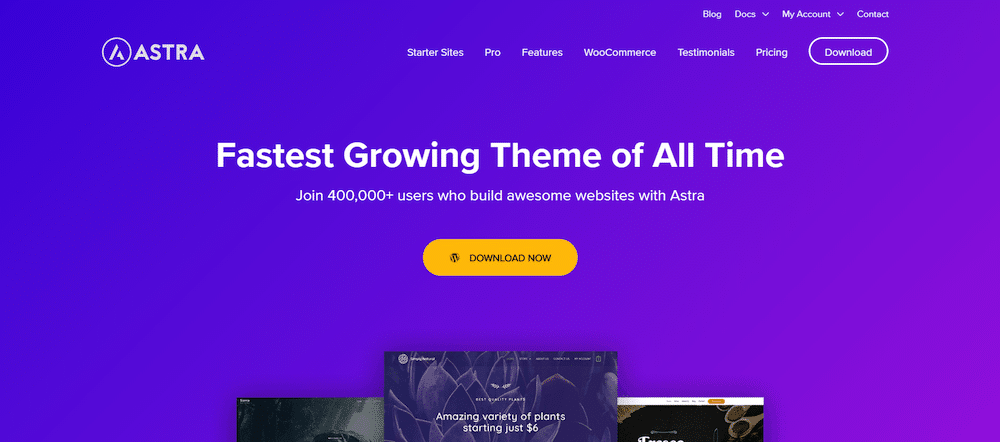
Back in the dashboard, go to ‘Appearance’ and then select ‘Themes’. From here, you can choose a WordPress theme that quickly builds the framework of your website that aligns with your website’s concept. Look for a responsive, customizable, and feature-rich theme. Some themes, like Astra and OceanWP, are well-suited for building complex websites.
In this step, you can also upload your business logo and customize your favicon, the little icon that appears next to your domain address in your web browser.
Step 4: Design your website and create content
Now you need to add the specific pages you want to appear on your website. For example, you’ll need to create a homepage to introduce your property rentals with captivating images and a brief description. Then, you can create individual pages for each property with more detailed descriptions, high-resolution images, and amenities.
Other examples of pages to include would be an ‘About Us’ page, ‘Contact Us’, ‘Local Attractions and Activities’, ‘Amenities’, ‘Reviews’, and even a ‘Blog’, so you can update any potential guests of any news or updates that you wish to share with them.
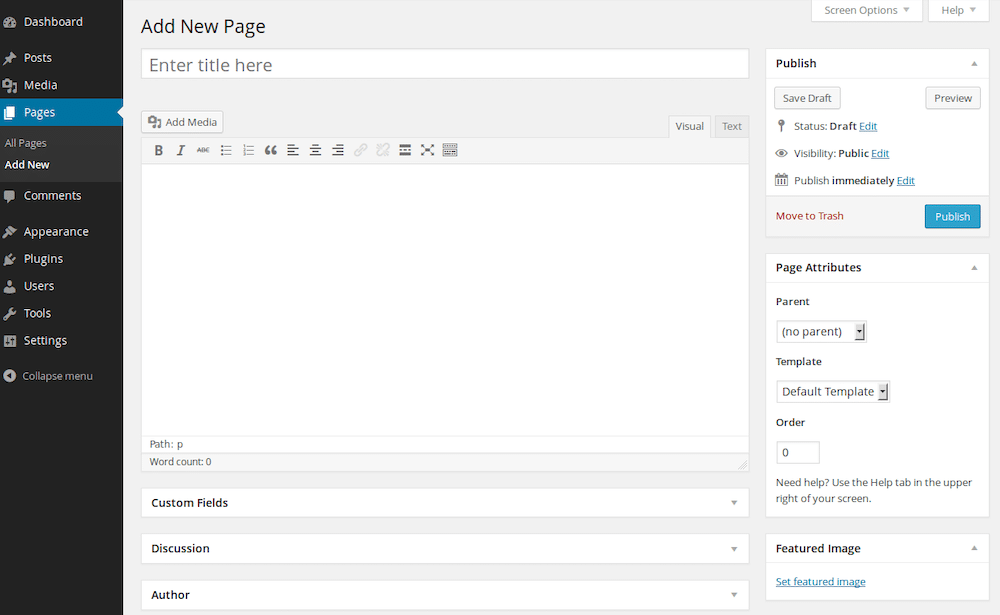
To create a page on WordPress, simply click on ‘Pages’ in the menu on your dashboard and then select ‘Add New’.
To upload images, go to ‘Media’ in your menu, where you’ll be able to upload your images using drag and drop. When adding them to a specific page, go to your page or post, click on ‘Add Media’, and then select your desired image from the media gallery. You will then have the option to choose the image size and its alignment on the page.
Bonus tip: As mentioned in Step 2, using a plugin such as Imagify can help you optimize your images, allowing you to reduce file sizes and enhance loading times.
Step 5: Implement a booking system
Ok, now your website is looking exactly how you imagined, with your brand identity clearly on show. But your potential guests still have no way to actually book your properties. This is where a booking widget comes in.
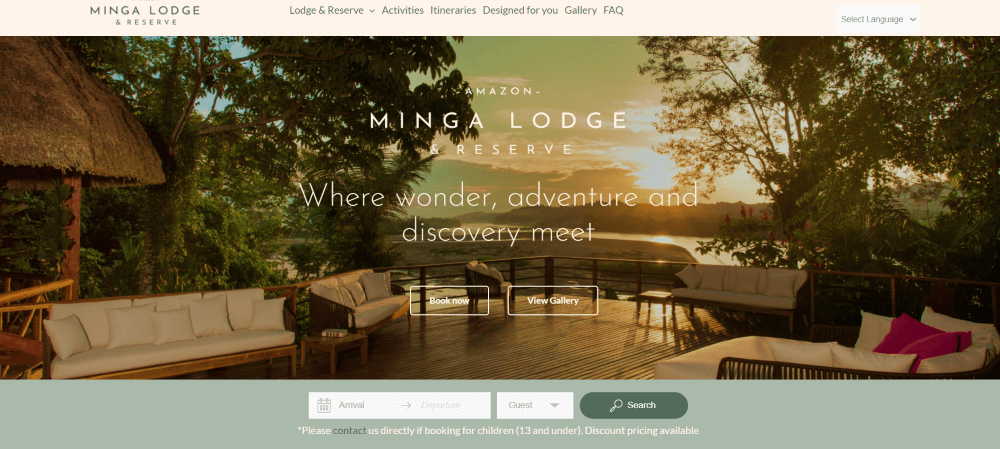
With Lodgify, you can integrate our booking widget seamlessly into your vacation rental WordPress theme, enabling your site’s visitors to swiftly assess property pricing and availability before conveniently reserving their accommodation directly on your website.
You can do this by using the easily-embeddable code generated by Lodgify and copying and pasting it into your website. The booking widget is customizable, meaning you can choose the colors, look, and style of your reservation system.
Rest assured, our WordPress booking system employs robust HTTPS and SSL encryption, safeguarding your guests’ sensitive information. By facilitating direct bookings on your WordPress vacation rental website, you not only offer your preferred rates but also provide a secure and reliable reservation process, enhancing the overall guest experience.
Bonus tip: Don’t forget that you’ll also need a PMS and channel manager to manage all your bookings. See Step 9 below for more info!
Step 6: Reviews and ratings
With reviews being the third most decisive factor when it comes to guests choosing their preferred vacation rental, it’s important to have a prominent place where you can showcase them and allow new guests to add theirs. Implement a reviews and ratings system for users to leave feedback about properties they’ve booked by using plugins like WP Product Review or WP Customer Reviews.
Step 7: Optimize user experience
So, your WordPress website is looking pretty and ready to accept bookings, but there are other factors to consider to ensure your website visitors enjoy a flawless user experience.
Consider testing your website’s responsiveness on various devices, as slow loading times or confusing layouts will put off any potential customers. Try compressing images and use caching plugins to improve loading speed, and make sure you’ve implemented a logical menu structure for easy exploration of your website.
Step 8: Implement SEO strategies
Now we need to make sure any potential guests can actually find your website. One of the best (and free!) ways to do so is by optimizing your website for search engines to improve visibility. Do some keyword research to identify relevant keywords for your property rentals. You can then implement these to generate SEO-friendly titles, meta descriptions, and headers.
You can also make the most of internal and external links by linking between your internal pages, such as the amenities or activities page, and include authoritative external links, such as your county or state website.
Check out our course on how to get direct bookings by effectively using SEO to market your website.
Step 9: Connect your website and your Airbnb calendars
A PMS and channel manager combination, such as Lodgify, acts as a centralized control hub for all your property listings across different OTAs (online travel agencies, such as Airbnb, Booking.com, and Vrbo). Instead of toggling between multiple platforms, you gain the advantage of managing all reservations, rates, availability, and property details from a single, user-friendly dashboard.
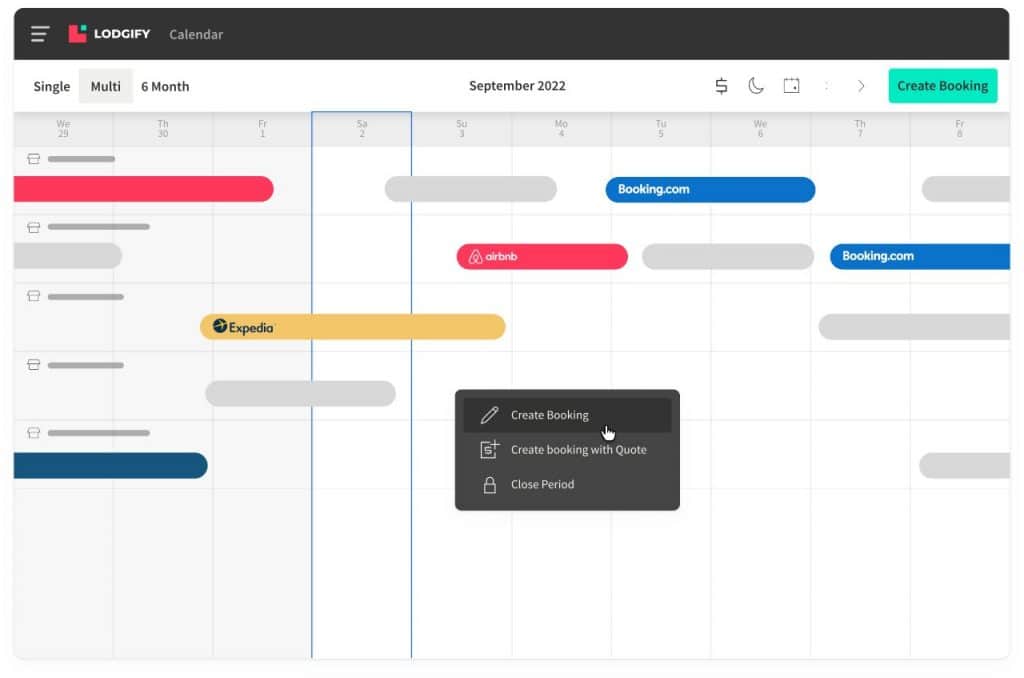
If you have your property listed on Airbnb or any other OTA, a channel manager will ensure that all your information, like rates and availability, is synchronized, meaning users will see real-time changes across all platforms. This helps property managers implement effective dynamic pricing and avoid double bookings.
Step 10: Launch and promote your website
Congratulations! If you’ve got this far, your website is now complete and ready for launch! You’ll want to promote it through various channels, including social media platforms, by sharing engaging content, such as your blog, and interacting with potential guests.
You can also start to build an email list to send regular updates, promotions, and newsletters, and consider using online ads so you can reach an even broader audience.
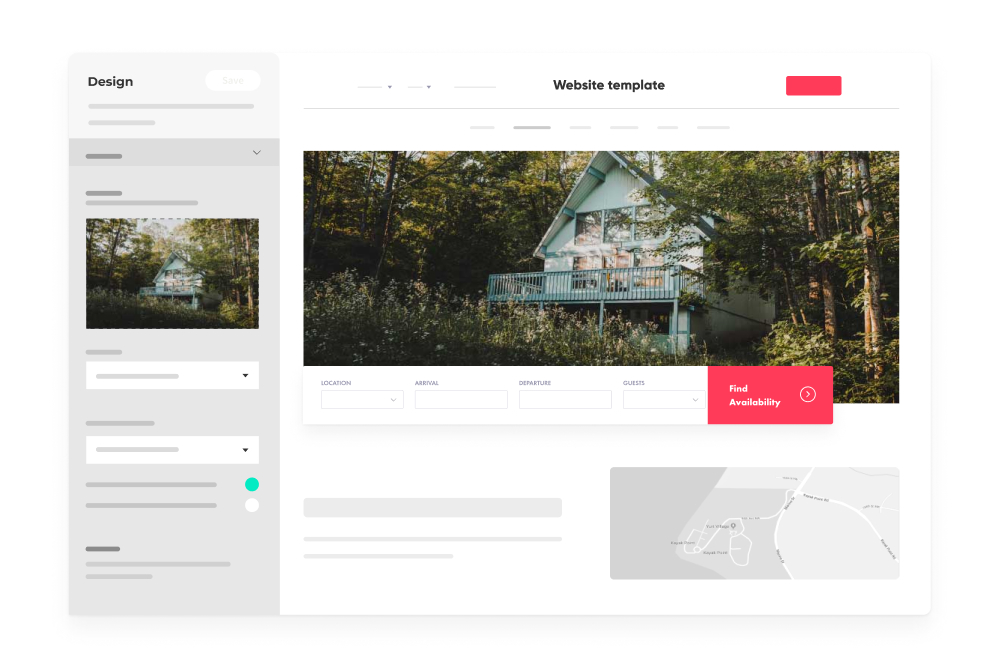
Bonus tip: WordPress is a great solution to build your website, but what about a website builder specifically made for vacation rentals? Lodgify’s website builder offers a user-friendly interface and a suite of specialized features that cater to the unique needs of property owners.
It also comes with an array of customizable templates, including the ability to upload your business logo and modify your website’s colors and fonts to match your brand identity. With just a few clicks, you can craft a visually appealing and functional website that enables you to showcase your accommodations, receive and manage bookings, and enhance the guest experience with various integrations.
Unlike the complexities often associated with WordPress, Lodgify streamlines the process, allowing hosts to focus on their guests while maintaining a professional online presence.
It doesn’t end there!
As you’ve learned, your website’s design, functionality, and content play vital roles in attracting and converting visitors into loyal guests. By crafting compelling property listings, showcasing enticing visuals, and implementing an efficient booking system, you’ve set the stage for a seamless user experience that leaves a lasting impression.
Although building a website like Airbnb using WordPress requires dedication, time, and effort, remember that a successful property rental website is not static; it requires continuous refinement and optimization. Regularly update your content, monitor your website’s performance, and adapt to industry trends to stay ahead of the competition. Engaging with guest reviews and leveraging social media platforms further enhances your credibility and builds trust among potential visitors.
Like the look of our booking widget? Sign up for a commitment-free 7-day trial with Lodgify to see how we can help you scale your business. Alternatively, you can register for a personalized product demo call with one of our agents or try our features with a demo account.
Still unsure? Check out what our customers are saying about us!