How to Create a Vrbo Listing: Step-by-Step Guide
Last updated: April 2024
Creating a Vrbo account is, unfortunately, just the very first (small) step towards successfully hosting on the platform. After you’ve created your owner account, you need to fill it with listings—or at least one.
While listing on Vrbo is free, the key to success lies in how well you craft your listing to attract the right guests. A compelling Vrbo listing not only showcases your property in the best light but also ensures it stands out among millions of listings worldwide.
Unsure where to get started or how to easily create a Vrbo listing? We’ll walk you through the steps below, from learning where to upload a listing on the platform to understanding the guidelines you need to follow to ensure Vrbo successfully publishes your properties on its platform.
Don’t see the form to download our Ultimate Guide to Listing on Vrbo? Click here.
Requirements to list on Vrbo
To ensure the quality and reliability that Vrbo is known for, the platform has specific requirements for hosts and property managers looking to list their properties. Perhaps the most important Vrbo guideline to consider is the accuracy of your listings.
You are not allowed to mislead guests or upload listings that are inaccurate (e.g. posting photos of a similar yet larger property that is not the one at the address listed on the property or using outdated photos that present the property in a better light).

Here are a few other things Vrbo expects before you can create your first listing:
- Accuracy: Your listing must give an honest and accurate portrayal of the rental property
- Location accuracy: You have to give a precise location of your property
- Originality: You cannot copy and paste information from other listings
- One listing per property: Vrbo allows only one listing per property on each account (meaning you can’t create multiple listings for one property to try and increase visibility and bookings)
Additionally, all listings must be in compliance with Vrbo’s Marketplace Standards and Content Guidelines.
What to know before listing on Vrbo
Before you upload your first Vrbo listing, you need to ensure you’ve covered the basics. Namely, you’ll want to ensure you have the important details Vrbo will use to set up and manage your listing effectively. This includes:
- Banking details: Vrbo will need them to process and deposit your rental earnings
- Property photos: This isn’t a legal requirement, but the goal is to have at least six professional-grade digital photographs of each property you’ll be listing
- Rental address: Ensure you have the rental address of each property, which you’ll need to complete and upload the listing
It’s also helpful to have other information on hand, such as a good idea of your rental rates and other key amenities that you can add when writing property descriptions. You can always go back and add these later, but the more information you have, the better.
How to create a Vrbo listing in 5 steps
Crafting a Vrbo listing is your chance to showcase the best attributes of your property and draw in the ideal guests. Here’s a simplified guide on how to get your property listed and ready for travelers:
- Account Setup: Begin by logging into your existing account or creating a new one on Vrbo.
- List Your Property: Navigate to the “List your Property” option located at the top of the homepage.
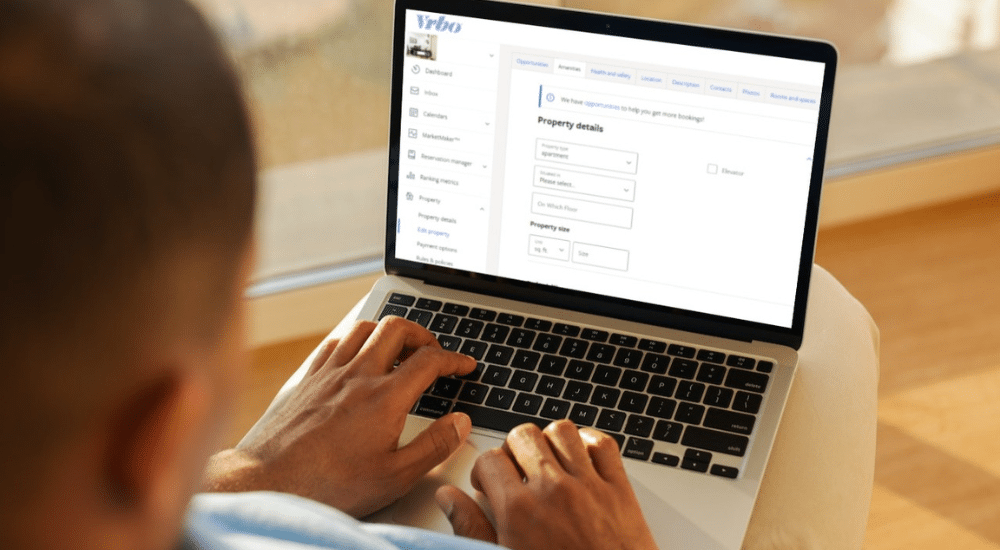
- Enter Property Details: Provide specifics about your property, including room details and location. This step helps you assess your property’s potential earnings. Once completed, click “Next.”
- Follow the Checklist: A structured checklist will guide you through the listing setup. Ensure you meticulously complete each section:
- Details: Describe your property thoroughly (more tips on that in the next chapter of this guide!)
- Photos: Upload high-quality images that showcase your property
- Security: Implement security measures recommended by Vrbo
- Payment: Set up your preferred payment method for receiving earnings
- Pricing: Establish your pricing structure
- Go Live: After confirming your selections, submit your listing by selecting “Go live.”
That’s it! Vrbo will review your submission and contact you once your property is officially live on the site, at which point you can make any necessary edits to your listing.

Start creating and optimizing your Vrbo listings
While these tips should help you create your Vrbo listings and get started on the platform, you need to do more than just upload Vrbo listings. Now, you’ll need to learn how to optimize your listings to appear at the top of local searches to attract more guests.
For more insights on how to optimize your Vrbo listings, along with other helpful Vrbo host tips and tricks, click through to read our other chapters. Or, download our full Ultimate Guide to listing on Vrbo below!
Don’t see the form to download our Ultimate Guide to Listing on Vrbo? Click here.